WordPress Blog Automation: A Step-by-Step Guide for Small Business Owners
15 min read
Loading...

WordPress blog automation connects an AI content tool to your website so it can help you research topics, draft posts, schedule content and, if you choose, publish posts with minimal input from you. With a platform like Scribe, the initial connection is usually quick, often around 15 to 20 minutes for a straightforward site, though the exact time depends on your hosting setup, your WordPress security settings and how much prep work you've done on your keyword list.
Once the connection is done, you're reviewing drafts instead of writing every post from scratch. A steady stream of useful content can go live with far less of your time tied up in it.
I know that sounds almost too simple, especially if you've spent years treating blogging as something you know you should do but never quite get around to. So let's walk through how WordPress blog automation actually works, step by step: the parts that are easy to skip, the risks worth knowing about, and what to check before you let anything publish on its own.
Here's something I hear constantly from small business owners: "I know I should be blogging weekly, but realistically I manage it once a month if I'm lucky." You're not alone, and it's not because you lack ideas. Writing a genuinely useful 1,500- to 2,000-word post takes real time. Between research, drafting, editing and finding suitable images, you're looking at three to four hours per post. Orbit Media's annual blogger survey has repeatedly put average blogging time at just under four hours per post, and that's before you've scheduled it, promoted it or checked how it performed.
WordPress powers a large share of websites globally, by some estimates more than 40%, so this isn't a niche problem. Millions of business owners are staring at the same blank editor, wondering how they're supposed to find four hours a week for content while also running the actual business.
Here's where I want to be careful, though: consistent publishing doesn't directly guarantee better rankings. Google's guidance on ranking systems points to a much wider set of factors, including relevance, content quality, expertise, usefulness to the reader, site authority and technical health. What consistency does give you is more opportunities to rank, more pages that can answer real customer questions and a larger body of content search engines can crawl and evaluate.
A blog that posts three times in January and goes quiet until June simply has less material working for it. It isn't automatically penalised for irregular publishing. In that same Orbit Media survey, only around 22% of bloggers reported "strong results" from their efforts. The problem for most of the rest usually wasn't a lack of ideas, it was inconsistent output without a repeatable process.
That's the real gap: it's not a content ideas problem, it's a time and process problem. WordPress blog automation can help by removing repetitive, low-value steps from your workflow, not by replacing your judgement. It's also worth saying plainly that automation alone doesn't guarantee traffic growth. It removes friction. What you do with the extra time and consistency still determines the results.
This is the part people often assume will be technical and intimidating. It's more approachable than it looks, but I'd rather give you the full picture than a rushed version that leaves you stuck halfway through.
Plans typically scale from around 10 to 30 articles a month, so choose one based on how much content you actually need rather than what sounds impressive. Start with a manageable publishing volume while you assess the quality of the drafts and the amount of review time required.
Go to the publishing integrations section of your content platform and select WordPress. You'll usually be asked for your site's full URL, including the https:// prefix, so the tool knows exactly where to send content.
Generate an application password inside WordPress rather than using your main login. In your WordPress dashboard, go to Users, then your profile (or the specific user you want to connect), and scroll down to Application Passwords.
Give the password a clear name, such as "Scribe integration," so you can identify it later. Click Generate and copy the password immediately. WordPress shows it only once, so you won't be able to view it again after navigating away.
WordPress recommends application passwords over regular login credentials because they're intended for a single purpose and can be revoked individually if you need to disconnect the integration.
Enter the application password in your content platform's WordPress integration settings, authorise the connection and send through a test draft. Confirm that it arrives correctly, with formatting intact, images attached and categories assigned as expected.
Choose whether new posts should arrive as drafts for your review or be published automatically. I'd strongly recommend starting with draft status until you've built confidence in the output, particularly if you work in a regulated industry or one where factual accuracy has serious consequences.
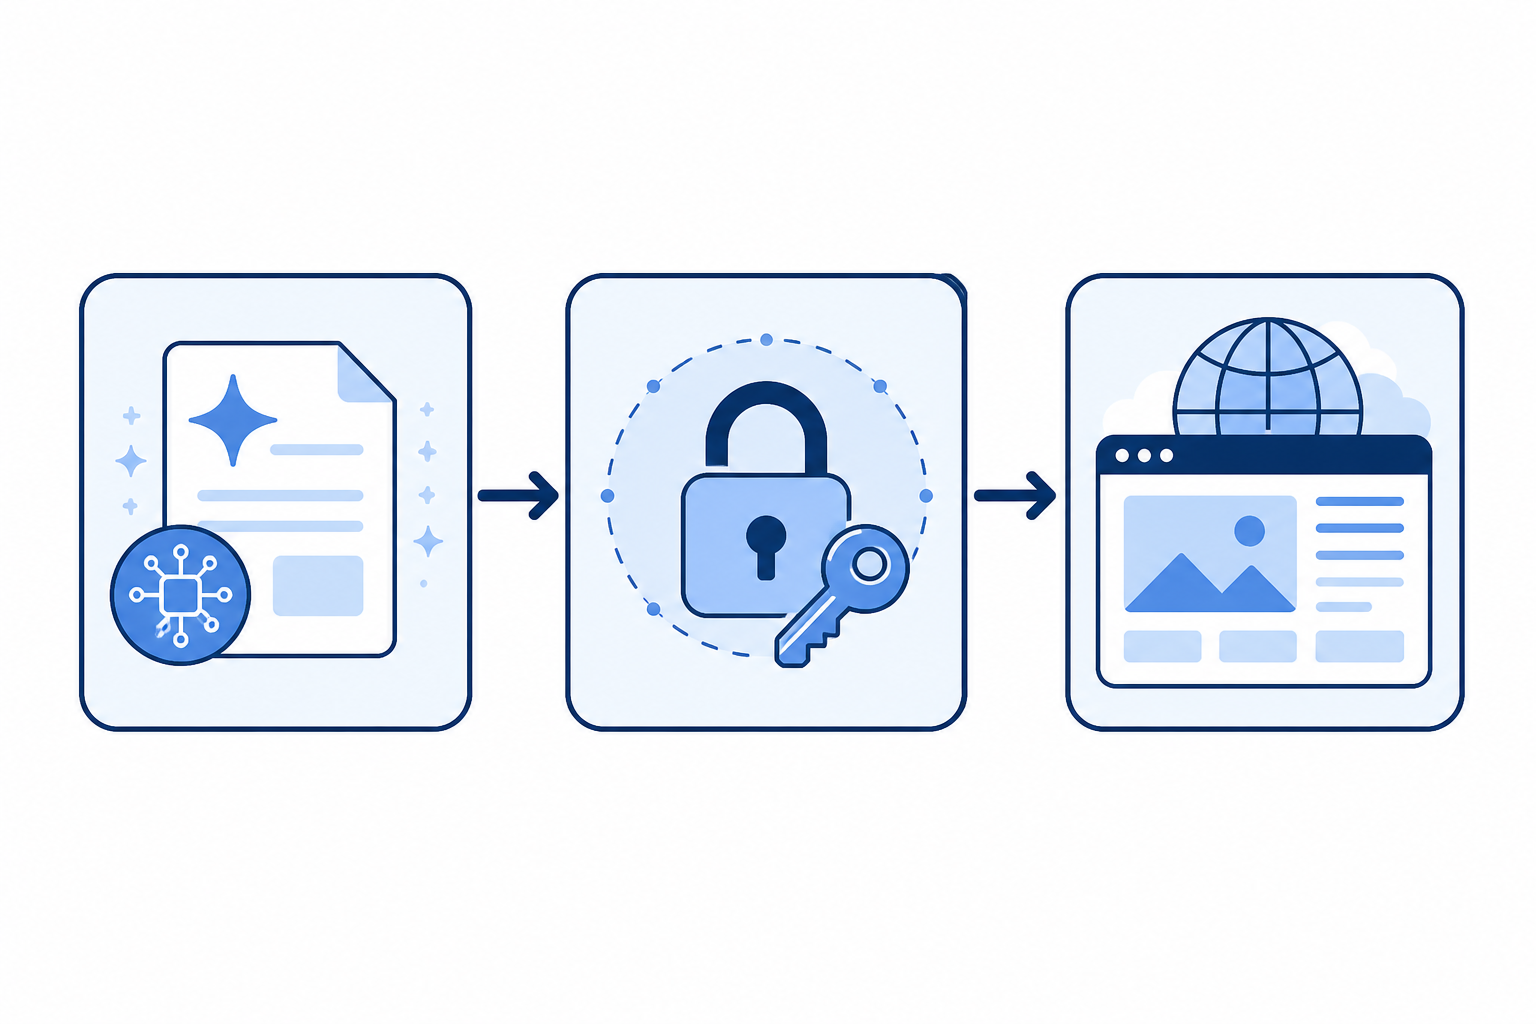
Under the hood, this connection uses WordPress's REST API, the same system that powers a wide range of legitimate publishing tools. Your site needs a valid SSL certificate for the connection to work securely, which most WordPress hosts include by default.
The WordPress user account you connect needs at least Author-level permissions to create and edit posts, and Editor-level permissions if you want it to publish categories or tags it hasn't used before.
If the connection fails, the most common causes are:
Checking your security plugin's firewall rules or contacting your host to confirm REST API access is usually enough to resolve the issue. As a general safety habit, use a dedicated WordPress account with limited permissions for the connection rather than your main administrator login. It's a small step that avoids giving the tool more access than it needs.
Once your site is connected, the next job is telling your AI writing tool what matters to your business. This is the step people often rush, and it's the one that determines whether automation produces genuinely useful content or generic filler.
Start with a proper list, not a rushed brainstorm:
Google's spam policies specifically mention "scaled content abuse," where large volumes of content are produced primarily to manipulate rankings rather than help readers. This applies whether the content was produced by a human, an AI tool or a combination of both.
The solution isn't to avoid automation. It's to make sure your topic priorities are genuinely tied to customer needs and that someone checks the content for accuracy, originality and usefulness before it reaches readers. That's the value of setting up your keyword priorities properly rather than moving straight to automated scheduling.
With your keyword priorities set, this is where the time savings really begin. The following steps will help you create a sustainable publishing cadence and introduce sensible checks before you rely on fully automated WordPress publishing.
Most small businesses can start with two to four posts a month. You can scale up once you've seen how the system performs and how much review time you're comfortable with. A manageable, sustainable schedule is usually more useful than an ambitious calendar you can't maintain.
Set the days and times you want new posts to go live. WordPress has supported scheduled publishing natively for years, so this fits naturally into the platform's existing workflow.
Decide whether posts should publish automatically or wait for a quick review. Many business owners use manual approval during the first month, then loosen the process once they trust the output. You can also keep higher-risk topics in draft status while allowing lower-risk informational content to follow a more automated workflow.
Keep a few extra drafts queued up so a last-minute topic change, seasonal shift or product launch doesn't leave you scrambling. A buffer also gives you flexibility if you need to pause publishing while you update your keyword priorities or review site performance.
A quality score can be a useful first filter, especially early on, but it isn't a substitute for human review. This matters most for content involving pricing, health, legal or financial claims.
Before you move to fully automatic publishing, run new drafts through this short checklist, especially during the first month or two:
If you're in a regulated industry, or if getting something wrong publicly would be costly, draft mode should stay your default indefinitely. Automatic publishing makes the most sense for lower-risk, informational content where an imperfect post is easy to correct rather than genuinely damaging.
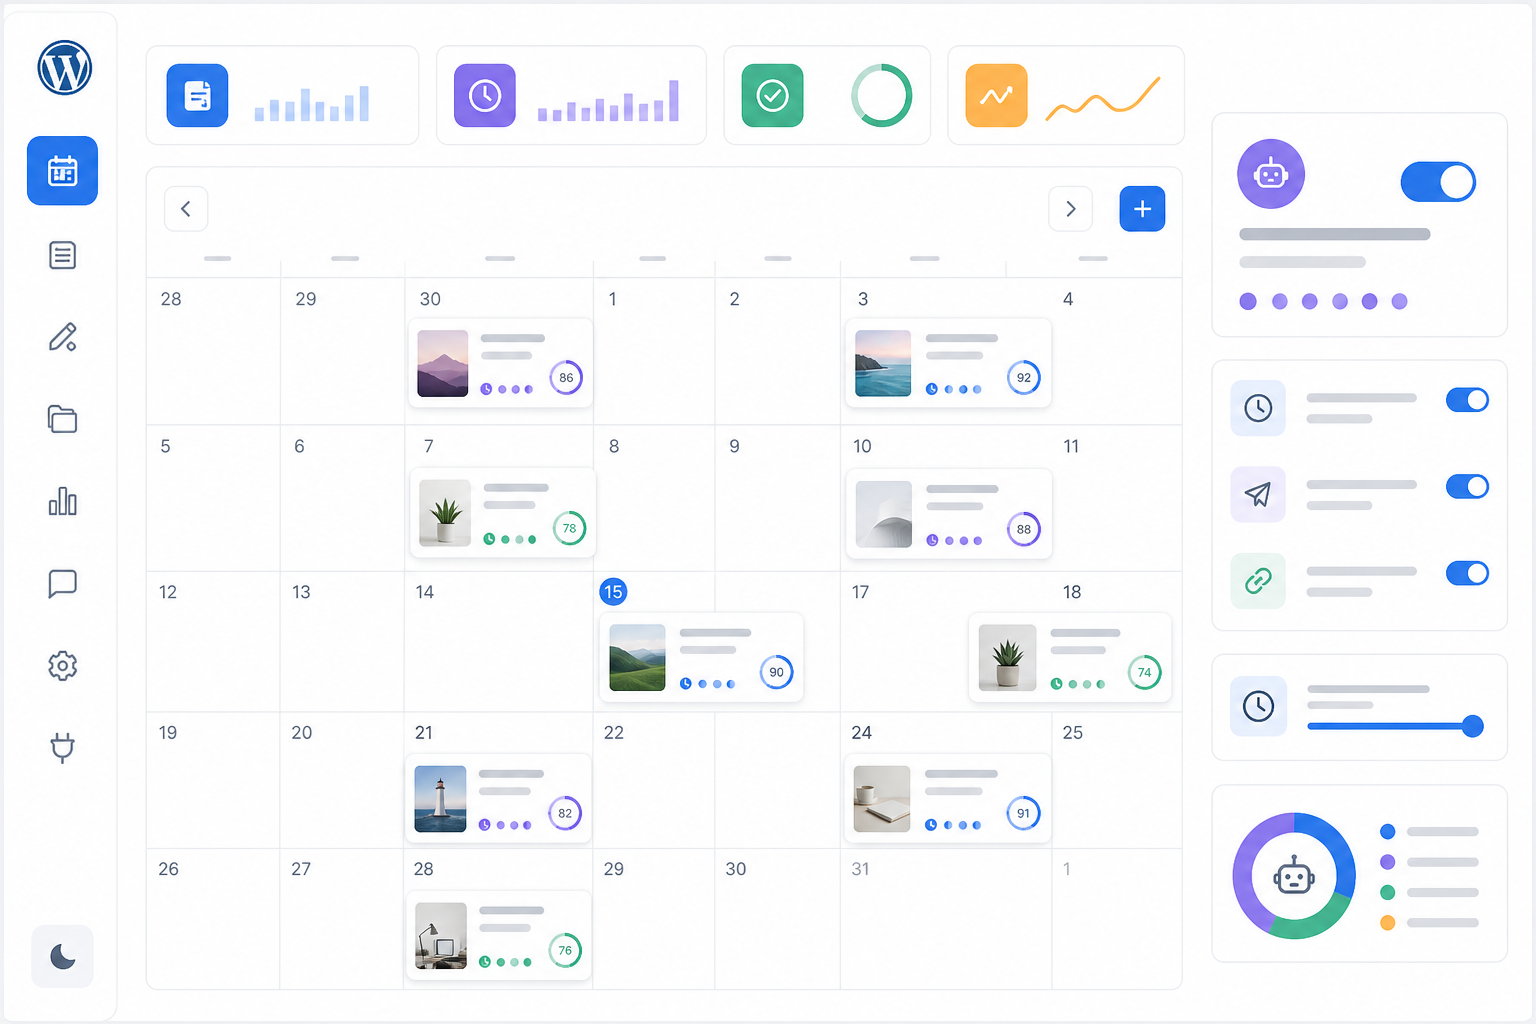
This is the point where WordPress blog automation shifts from an interesting idea into part of how the business operates. Instead of staring at a blank page every week, you might spend 15 to 20 minutes reviewing content that's already been drafted. The repetitive admin work drops away, while you're still deciding what represents your brand.
A common mistake is checking traffic the day after a post goes live and getting discouraged when nothing has happened. Give new content time. Search engines often need several weeks to crawl, index and rank a new article, so a sensible review cycle looks like this:
You may come across case studies or user reports citing large traffic increases from automated publishing. Treat these with healthy scepticism unless they include a clear baseline, timeframe, sample size and honest account of what else changed on the site during that period.
A jump in traffic is rarely down to one tool alone. It's usually the result of consistent publishing, sensible keyword targeting, effective on-page SEO and enough time for search engines to respond. These factors work together rather than any single tool delivering results in isolation.
Most tools, including Scribe, use a WordPress application password rather than your main login for security. In your WordPress dashboard, go to Users, open your profile and scroll to Application Passwords. Name the password, generate it and copy it immediately because it's shown only once.
Paste the application password into your content platform's WordPress integration settings and authorise the connection. Once connected, posts can be sent to your site as drafts or published automatically, depending on your settings.
Not particularly. The initial setup is usually a one-time process of around 15 to 20 minutes for a straightforward site, though it can take longer if your host has extra security layers or your WordPress user permissions need adjusting.
You'll mainly connect your website, choose your keyword priorities and pick a publishing schedule. After that, the ongoing work is mostly content review rather than technical maintenance, though it's worth checking the integration occasionally in case a plugin update or hosting change affects the connection.
Before fully automating your WordPress blog, confirm the following:
If you're in a regulated industry, keep draft mode on indefinitely rather than moving to full automation. For lower-risk informational content, it's reasonable to automate more of the process once you've reviewed enough posts to trust the workflow.
Search engines weigh a broad mix of signals: usefulness, originality, accuracy, expertise and whether the content actually satisfies the searcher's needs. Tools built with quality scoring in mind, like Scribe, are designed to support those standards, but no tool can guarantee rankings.
Publishing large volumes of thin or unchecked content risks falling into Google's definition of scaled content abuse, whether it was written by a human or an AI system. The safest approach is to review early posts closely, fix inaccurate or generic sections, and use performance data to refine future topics rather than assuming quality happens automatically.
WordPress blog automation isn't about removing yourself from content marketing entirely. It's about handing off repetitive, time-consuming tasks so you can focus on the decisions that need your judgement: what to say, what matters to your customers and where the business is headed.
If you're ready to try it, start small:
Set it up once, review it weekly, and let the system handle the repetitive groundwork in between.